|
Power
|
Unit 5 of Comp Apps
LEARNING OBJECTIVES:
- Identify the names and functions of the PowerPoint interface.
- Create, edit, save, and print presentations.
- Format presentations.
- Add a graphic to a presentation.
- Create and manipulate simple slide shows with outlines and notes.
- Create slide presentations that include text, graphics, animation, and transitions. Use design layouts and templates for presentations.
- Create a PowerPoint presentation.
PPT Project Logos: Lesson Logos are here...
Power Point Lessons
Projects PPT-1 through PPT-3
All files should be saved to your Power Point Folder
in your COMP APPS Folder.
Intro to Power Point Lessons
!DO NOT PRINT!
PPT-2: How to Detail a Car
A Jazz My Wheel Project
Students will create an 8 slide - slide show using animation tools and applying a background to each slide as well as incorporate an action button and animation.
New Skill: Action Button
Students will:
Students will:
- Apply and Use Word Art
- Change Background Colors
- Format text using effects options
- Format the Action Button

| ppt-2.pdf |
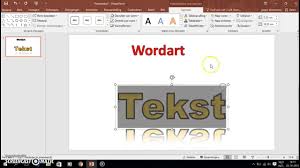
How to Insert Word Art:
Slide 1 (Step 4)
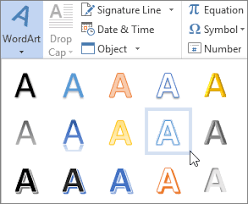
1. Click the Insert tab on the Ribbon and then click the WordArt button in the Text group.
2. Select the WordArt style you want to use.
3. Click the WordArt text box and then type the text you want to use.
How to Add and Action Button
(Action Button or Action Link)
Slide 8 Step 11
Go to the slide to add the Action Button or Link.
Action Link:
On the slide you are adding Action Button or Link, you will....
Highlight the text you typed int he Body Text Section.
Click Insert Tab (in Tool Ribbon)
Click Links Group, select Action Button and the Action Settings Menu will open.
In the menu, select the "Hyperlink to:" radio button:
Choose the location. (This Assignment (PPT2) it is the First Slide.)
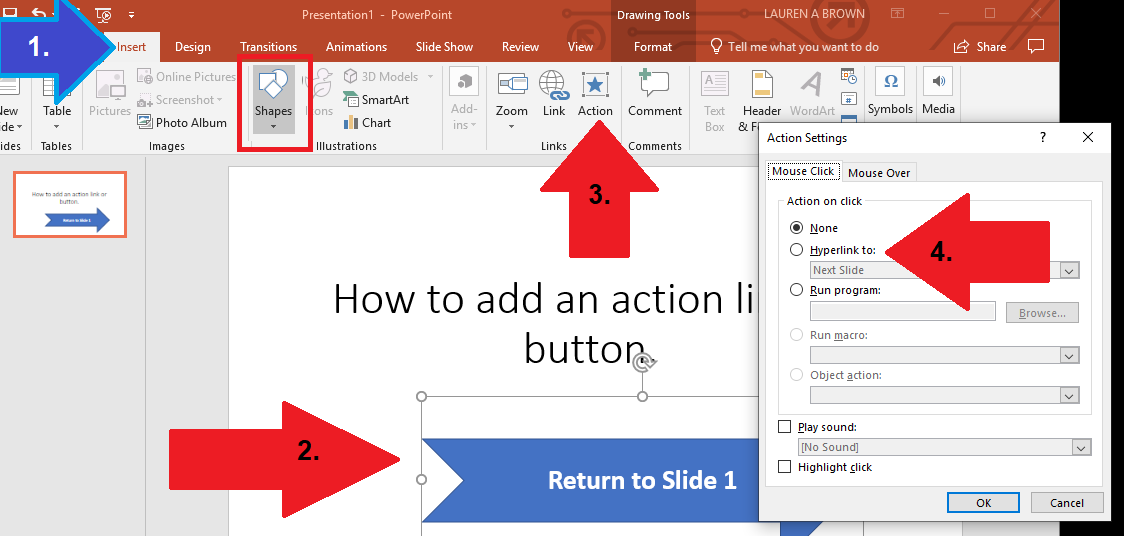
Action Button:
Go to the slide to add the Action Button or Link.
On the slide you are adding Action Button or Link, you will....
1. Click the Click Insert Tab (in Tool Ribbon).
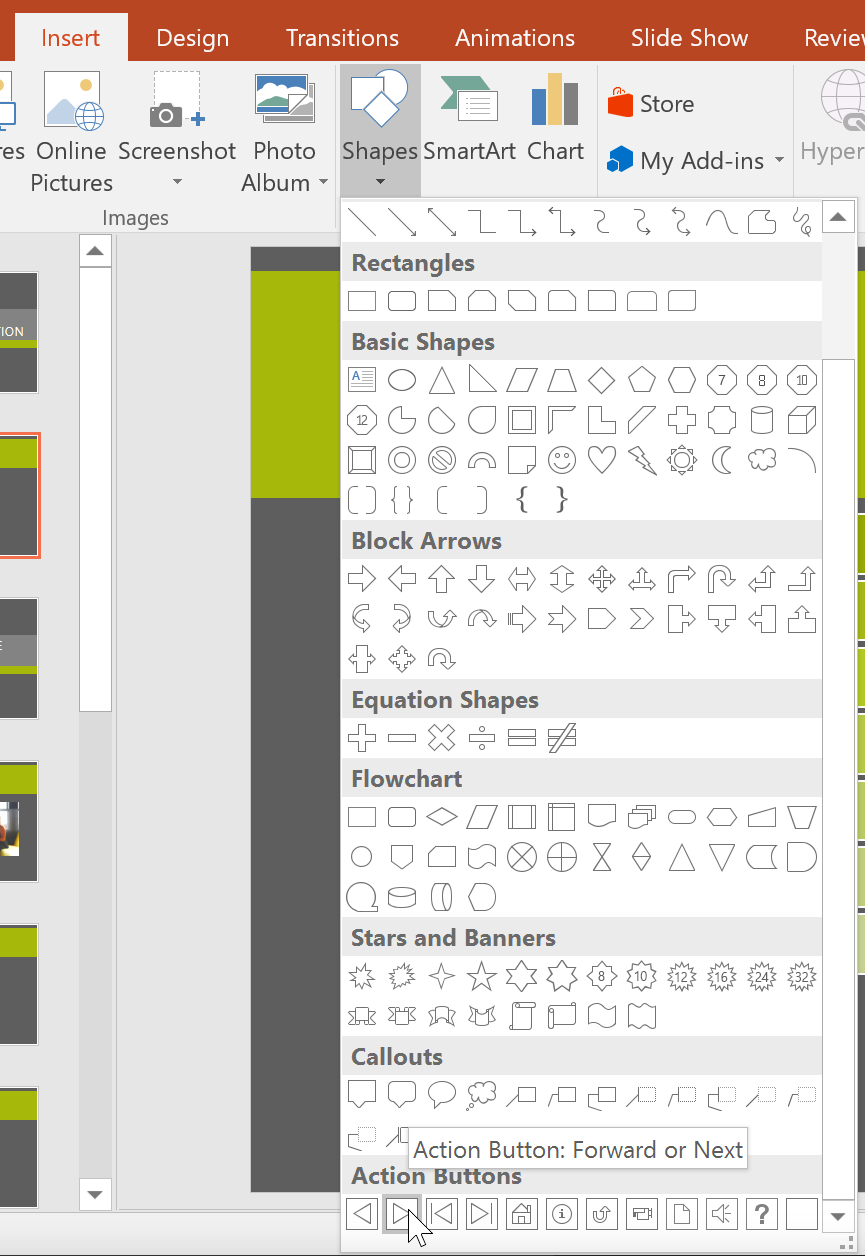
2. Click the Click Shapes (see picture below) and select a desired shape from the menu.
- Draw the Shape to create a button (on Slide 8).
- Click the shape (object) you wish to add and
action or hyperlink to.
3. Click the Click Insert Tab (in Tool Ribbon) and locate "Links" group, click [Action].
4. From the drop-down menu, choose where you would like the action button to link to when activated.
In the menu, select the "Hyperlink to:" radio button:
Choose the location. (This Assignment (PPT2) it is the First Slide.)
Click OK.
Or Apply an Action Button instead of link...
PPT-3 Laundry Services and More
A College Concierge Project
| ppt-3.pdf |

|

|

Do not work beneath this line....
_____________________________________
VBUS Standards:
2.K Essentials of Presentation Management
2.K.01 Create, edit, format and print a presentation.
2.K.01.01 Describe the ways to create, edit, format and proofread slides in a presentation.
2.K.01.02 Differentiate between the various ways to view a presentation.
2.K.01.03 Describe and demonstrate the use of page orientation and setting margins.
2.K.01.04 Format a presentation using bullets, slide layouts, headers and footers.
2.K.01.05 Format a presentation using templates and themes
| ppt-4.pdf |
| ppt-5.pdf |
| ppt-6.pdf |
| ppt-7.pdf |
| power_point_introduction_sheets.pdf |
